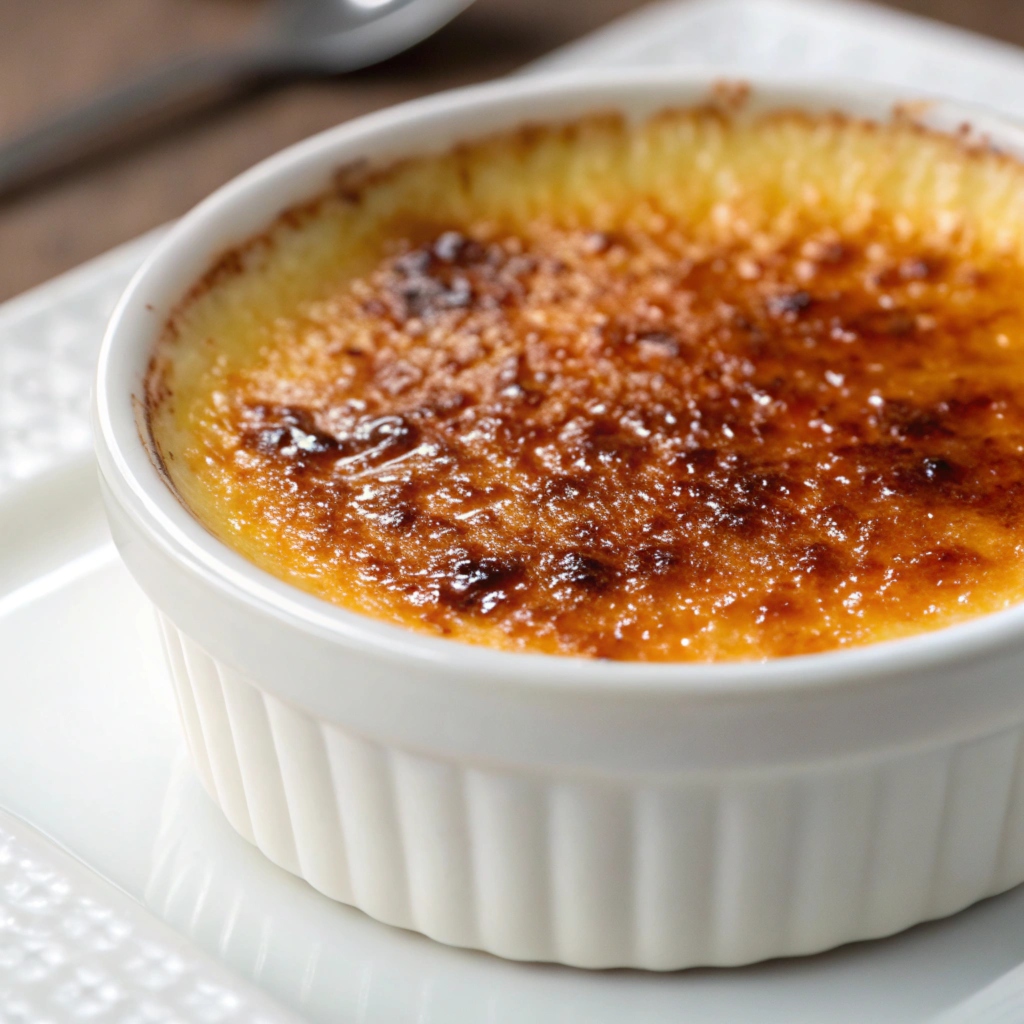
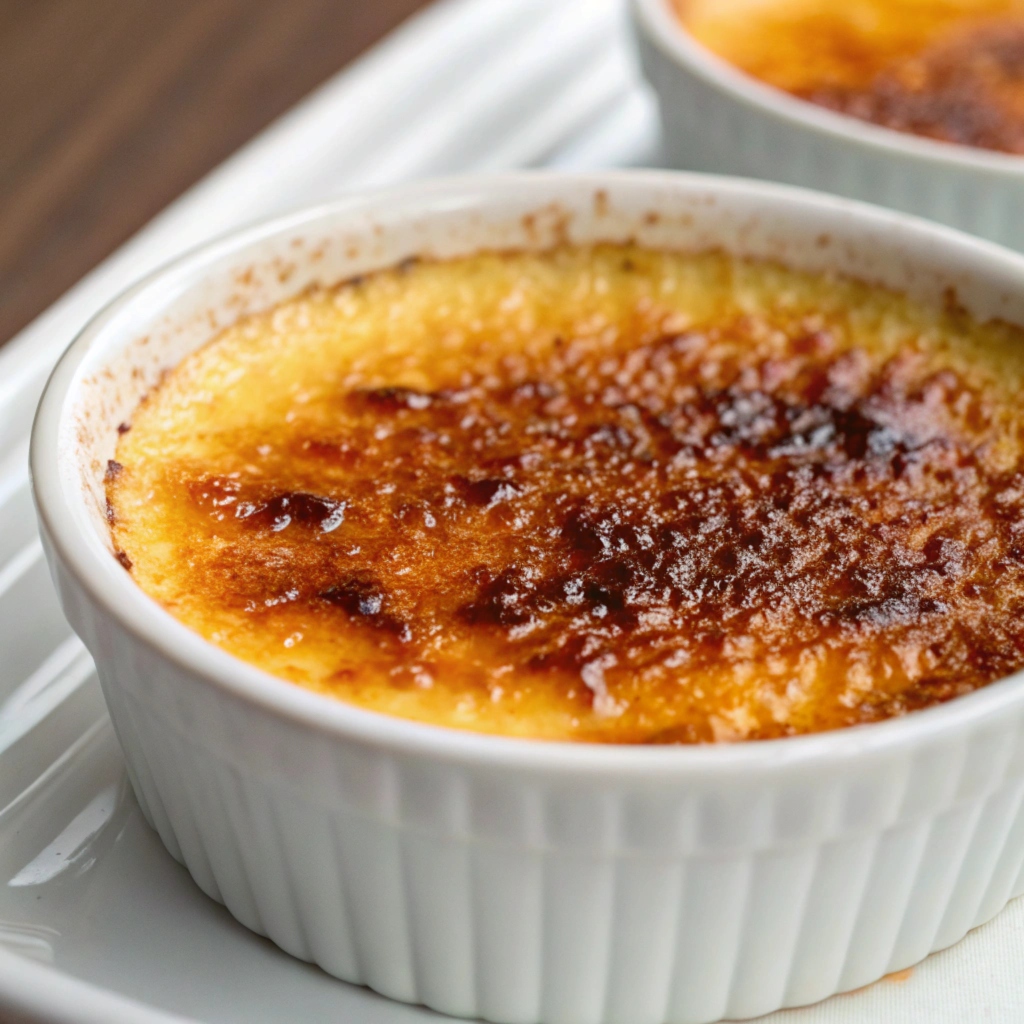
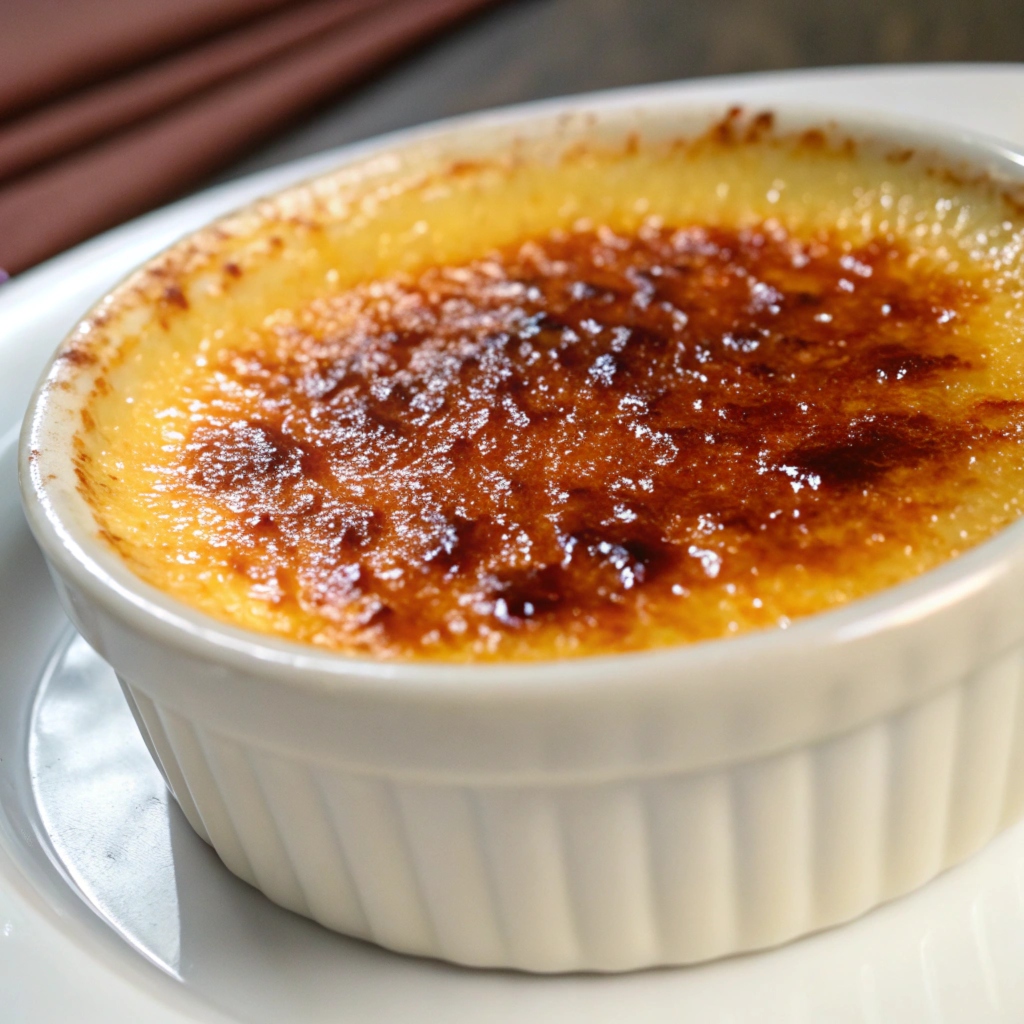
Caramelize crème brûlée is a dessert that has a reputation for being delicate and difficult to master. Its crispy caramelized top contrasts beautifully with its smooth, creamy custard beneath. But how do you get that perfect, golden-brown sugar crust? The answer lies in a technique called caramelizing brulee. In this guide, we’ll cover everything you need to know about how to caramelize brulee to perfection. Whether you’re a beginner or a seasoned chef, this comprehensive article will help you understand the steps, tools, and tips necessary to create the ultimate crème brûlée.
Table of contents
Understanding Crème Brûlée: The Basics
Before diving into the specifics of how to caramelize brulee, let’s first take a closer look at what makes this dessert so special. Crème brûlée is a classic French dish, and it consists of three main components: the custard base, the vanilla flavoring, and, of course, the caramelized sugar topping. While the custard base provides a rich and creamy texture, the caramelized topping offers a delicious contrast in both flavor and texture. Together, they create a perfect balance that makes crème brûlée a beloved dessert.
The name “crème brûlée” itself translates to “burnt cream,” which directly refers to the signature caramelized sugar top. This process of caramelization is crucial, as it provides the perfect crispy, glass-like layer that contrasts with the silky smooth custard underneath.

The Classic Caramelize Crème Brûlée Components
Caramelize crème brûlée consists of three main elements, each of which contributes to its unique appeal. Let’s examine each of these components in more detail:
- The Custard: A rich mixture made from heavy cream, egg yolks, and sugar. The custard is the heart of the dessert, and its creamy texture is what sets crème brûlée apart from other similar dishes like flan. The texture should be smooth, velvety, and not overly thick.
- The Vanilla Flavoring: While vanilla extract is a common ingredient, some recipes use vanilla beans for a more intense and aromatic flavor. The vanilla seeds from the bean infuse the custard with their richness, providing a depth of flavor that cannot be replicated by extract alone. The use of high-quality vanilla is critical for achieving the depth and flavor that distinguishes crème brûlée.
- The Caramelized Sugar Topping: This is the most crucial part of the recipe. Without a properly caramelized sugar crust, the crème brûlée would not be complete. The sugar is heated until it melts and forms a hard, crunchy layer on top of the custard, creating a striking visual contrast and a satisfying crunch. The caramelized sugar topping is where the skill of the chef shines.
Understanding the importance of each component will help you master the technique of caramelizing brulee. Now, let’s move on to the practical steps involved.
Step-by-Step Process: How to Caramelize Brulee?
The process of caramelizing brulee is deceptively simple, but it requires precision. Below are detailed, step-by-step instructions on how to achieve that perfect caramelized sugar crust.
Step 1: Prepare the Crème Brûlée Custard Base
Before you can even think about caramelizing brulee, you need to prepare the custard. This step is essential because the custard provides the smooth base that the caramelized sugar will sit on. Here’s how to make the custard:
- Heat the Cream: Pour the heavy cream into a saucepan and place it over medium heat. Stir it occasionally to prevent the cream from scorching. Once it starts to simmer (but not boil), remove it from the heat. At this point, you want to ensure that the cream is heated just enough to infuse flavor without actually boiling it.
- Whisk the Egg Yolks and Sugar: In a separate bowl, whisk the egg yolks with sugar until the mixture turns a pale yellow. This ensures that the sugar is fully dissolved and the yolks are well-beaten. By incorporating air into the mixture, you help create a smoother custard that will have the right consistency. The sugar also helps thicken the custard by dissolving in the egg yolks, giving it the characteristic creamy texture.
- Combine the Cream and Egg Mixture: Slowly pour the hot cream into the egg mixture, whisking constantly. This technique, called tempering, prevents the eggs from cooking and turning into scrambled eggs. It’s important to pour the cream in gradually while whisking so the eggs don’t overheat. The slow process allows the eggs to heat up gently, resulting in a smooth custard without any curdling.
- Return to Heat: Pour the combined mixture back into the saucepan and cook over low heat, stirring constantly with a wooden spoon. This step ensures that the custard thickens and coats the back of the spoon. It typically takes about 5-7 minutes. Be careful not to rush this process, as overcooking the custard could lead to curdling. Maintaining low heat is key to making sure the custard stays silky and smooth.
- Strain the Custard: Once the custard has thickened, strain it through a fine mesh sieve to remove any bits of cooked egg or other impurities. Straining ensures that the custard is silky smooth and free from any undesirable textures. This step is essential for achieving a refined, luxurious custard texture that will serve as the perfect base for your crème brûlée.
- Cool the Custard: Pour the custard into your prepared ramekins and set them in a baking dish. Allow the custard to cool slightly before transferring it to the fridge to set for several hours, or preferably overnight. The cooling process is important because it allows the custard to firm up and hold its shape when you add the caramelized sugar layer. Be sure to cover the ramekins to prevent them from absorbing any odors from the fridge.
Step 2: Bake the Custard in a Water Bath
The water bath (also known as a bain-marie) helps cook the custard gently and evenly. Here’s how to prepare the water bath:
- Preheat your oven to 325°F (163°C).
- Place your ramekins in a large baking dish. Make sure the ramekins are not crowded, as this will allow the water to circulate evenly around them, ensuring uniform cooking. This is essential to avoid uneven texture in your custard.
- Carefully pour hot water into the baking dish, ensuring that the water comes about halfway up the sides of the ramekins.
- Bake for 45-50 minutes or until the custard is set but still slightly wobbly in the center. Check for doneness by inserting a knife into the custard—if it comes out clean, it’s ready. Avoid opening the oven door too frequently, as fluctuating temperatures can lead to uneven cooking.
Step 3: Chill the Custard
Once your crème brûlée is baked, remove the ramekins from the water bath and allow them to cool to room temperature. This step prevents condensation from forming on the custard, which could disrupt the smooth texture. Once cooled, transfer them to the refrigerator for at least 2 hours (or overnight). The custard needs to be fully chilled to form the signature firm texture. You want the custard to have a firm consistency so that it doesn’t mix with the caramelized sugar during the finishing process.
Step 4: Caramelize the Sugar
Now comes the crucial part of the process: caramelizing the sugar on top of the custard. There are two main methods for achieving that perfect crispy sugar topping:
Method 1: Using a Blowtorch
A kitchen blowtorch is the easiest and most controlled way to caramelize sugar. It’s ideal for creating an even layer of caramelized sugar that’s golden and crisp. A blowtorch allows you to have full control over the sugar’s color and texture, ensuring you don’t accidentally burn it.
- Sprinkle the Sugar: Once the custard is completely chilled, evenly sprinkle a thin layer of sugar over the surface of each ramekin. You want to cover the entire top with a thin, even layer of sugar—don’t pile it up. The more evenly you spread the sugar, the more uniform the caramelization will be. Use about one tablespoon of sugar for each ramekin, and make sure the sugar covers the custard evenly.
- Light the Blowtorch: Hold the blowtorch about 3-4 inches above the surface of the sugar. Move the flame in small, circular motions to evenly melt and caramelize the sugar. As you move the torch, the sugar will start to bubble and then harden into a golden-brown layer. Be patient and steady to avoid burning it. Keep the torch moving constantly to avoid hot spots where the sugar could burn.
- Watch for Perfection: The sugar should melt into a liquid before hardening into a crispy, golden crust. Make sure to avoid burning the sugar, as it can quickly go from golden brown to black and bitter. The goal is to achieve a uniform, smooth, golden-brown top that cracks easily when tapped.

Method 2: Using a Broiler
If you don’t have a blowtorch, don’t worry—your oven’s broiler can do the job too. This method requires more attention, but it can achieve a similar result.
- Sprinkle the Sugar: Like with the blowtorch method, sprinkle a thin, even layer of sugar over the top of the custard.
- Preheat the Broiler: Place your ramekins under the broiler in your oven. Broil for 2-3 minutes, keeping a close watch to avoid burning the sugar. The sugar will begin to bubble and turn golden. Watch carefully to prevent it from burning. The broiler method can be faster than using a blowtorch, but it requires you to keep a close eye on the sugar to prevent overcooking.
- Cool the Sugar: Once the sugar has caramelized, remove the ramekins from the oven and let them cool for a minute. The caramelized sugar will harden and form a crisp topping. Let the ramekins sit for a few minutes before serving to allow the sugar to set completely.
Troubleshooting Common Mistakes When Caramelizing Brulee
As simple as it may seem, there are several common mistakes people make when caramelizing brulee. Below are some of the most frequent issues and how to solve them.
- Sugar Burns Too Quickly: If the sugar burns before it caramelizes, the heat may be too high. Keep the blowtorch moving and avoid focusing it in one spot for too long. If using the broiler, keep the ramekins 3-4 inches away from the heat source. Ensure that the temperature is consistent and the sugar has enough time to melt gradually.
- Uneven Caramelization: For a perfectly even crust, be sure to distribute the sugar evenly before applying heat. Whether using a blowtorch or broiler, consistent movement is key to an even caramelization. Moving the heat source in small, circular motions helps to achieve a uniform texture.
- Custard Becomes Runny: If your custard isn’t setting properly, it might not have been cooked long enough or the temperature might have been too high. Be patient, and always check the doneness by inserting a knife into the custard. If the custard is too runny, you may need to increase the cooking time or reduce the heat next time to ensure proper thickening.
Frequently Asked Questions
How to caramelize crème brûlée?
Caramelizing crème brûlée is the final step where sugar is melted on top of the custard using a blowtorch or broiler, forming a crispy and golden layer. The sugar should melt and harden into a crackling crust.
What is the best way to caramelize sugar?
The best way to caramelize sugar for crème brûlée is using either a blowtorch or broiler, both of which melt the sugar into a golden, crisp crust. The choice depends on the tools available and the level of control desired.
How do you caramelize crème brûlée without a blowtorch?
Without a blowtorch, you can use your oven’s broiler. Simply sprinkle sugar over the custard and place it under the broiler for a few minutes until the sugar turns golden brown.
Do you put white or brown sugar on top of crème brûlée?
Traditionally, white sugar is used to caramelize crème brûlée, but brown sugar can add a richer, more complex flavor. Both options can work depending on your taste preference.
Conclusion
Caramelizing brulee may seem intimidating at first, but with the right techniques and tools, it’s a process that can be mastered with practice. Whether you use a blowtorch or a broiler, achieving the perfect golden-brown sugar topping is achievable. The balance of creamy custard and crispy sugar is, without a doubt, what makes crème brûlée such a beloved dessert. Furthermore, with these tips and techniques at your disposal, you will not only be able to impress your guests with your culinary skills but also ensure that you make perfect crème brûlée every time. Ultimately, the combination of rich flavors and textures will leave a lasting impression, making your dessert an unforgettable experience.

